How to take before and after pictures for beauty artists.
When I thought about creating this post, I asked a few friends to be my models while I put my Maskcara makeup (which you can check out here) on them and take some before and after shots. I found that most of my friends were hesitant to want to put their before picture up for the world to see. The problem is that many people spend little time on the before picture and it leaves your friend/client feeling terrible about themselves.
But, we need before and after pictures because it tells such a compelling story. If you are someone who sells makeup, skincare products, beach body or anything else that involves a physical transformation, then getting good before and after pictures is essential to showing your clients the benefits of your products. Here’s how to take before and after pictures for makeup.
Find the Light First
Lighting is key to getting a great before and after picture. I see too many people take their pictures in a dark room. The best light to use is natural light. Find open shade like a porch or a window with nice even light. Then place your subject facing the light or slightly turned away from the light. Then you stand in between them and the light to take the picture. Avoid shooting in harsh light from direct sun or in dark rooms.
Set up the Background
Once you know where the best light is, find a solid background. You don’t want to distract from the person and the transformation, so find a nice wall or door to stand in front of. If there is going to be a considerable amount of time between taking the before picture and the after picture, take note of your location and time of day. It is easier to compare when you have similar backgrounds and lighting.
Don’t Neglect the Before Picture
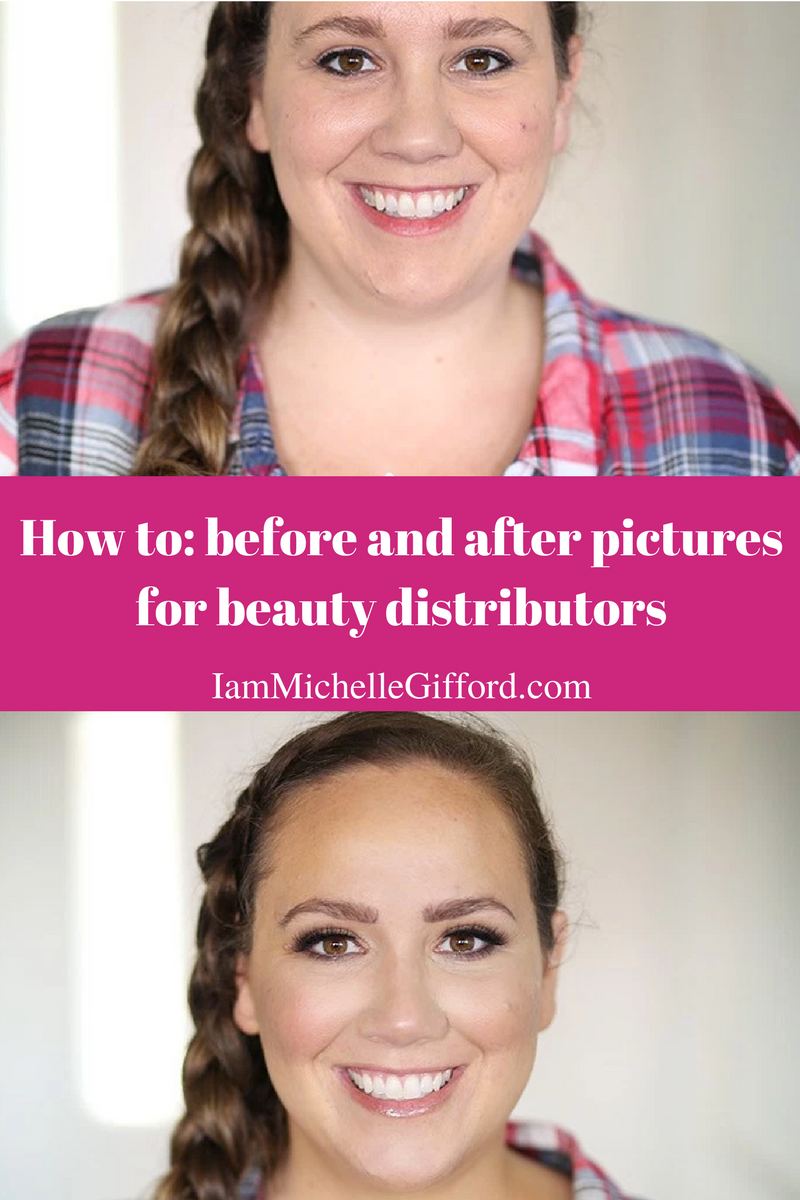
This is the biggest problem I see with before and after pictures. Many people take the before picture and get the worst angle possible. It is the very reason people do not want to have before pictures taken. It also makes your after look less believable. Go ahead and take a nice picture of the before. Trust in your product’s transformative power 🙂
Place Them Side-by-Side
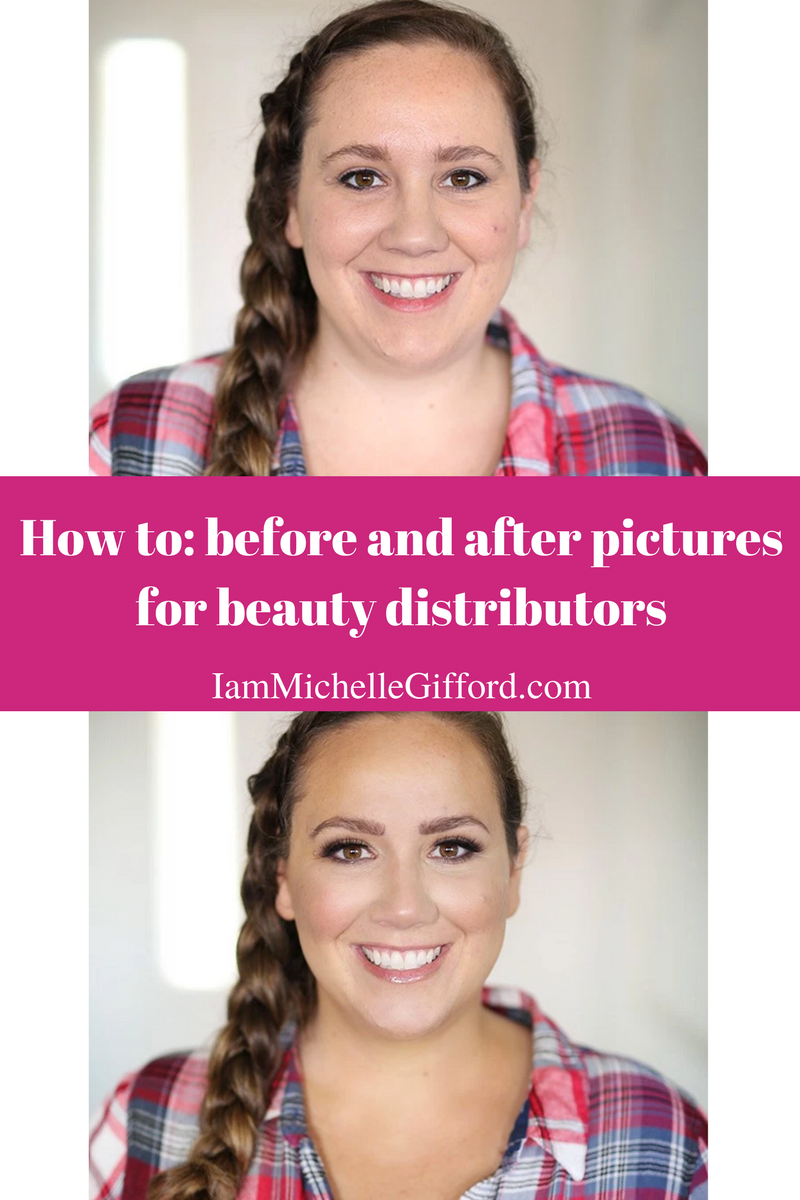
Having your pictures side-by-side allows you to see the full effect of your product. If you are creating a blog post, place your photos one picture above the other picture. Vertical pictures like this do better for blog posts and for pinning on Pinterest.
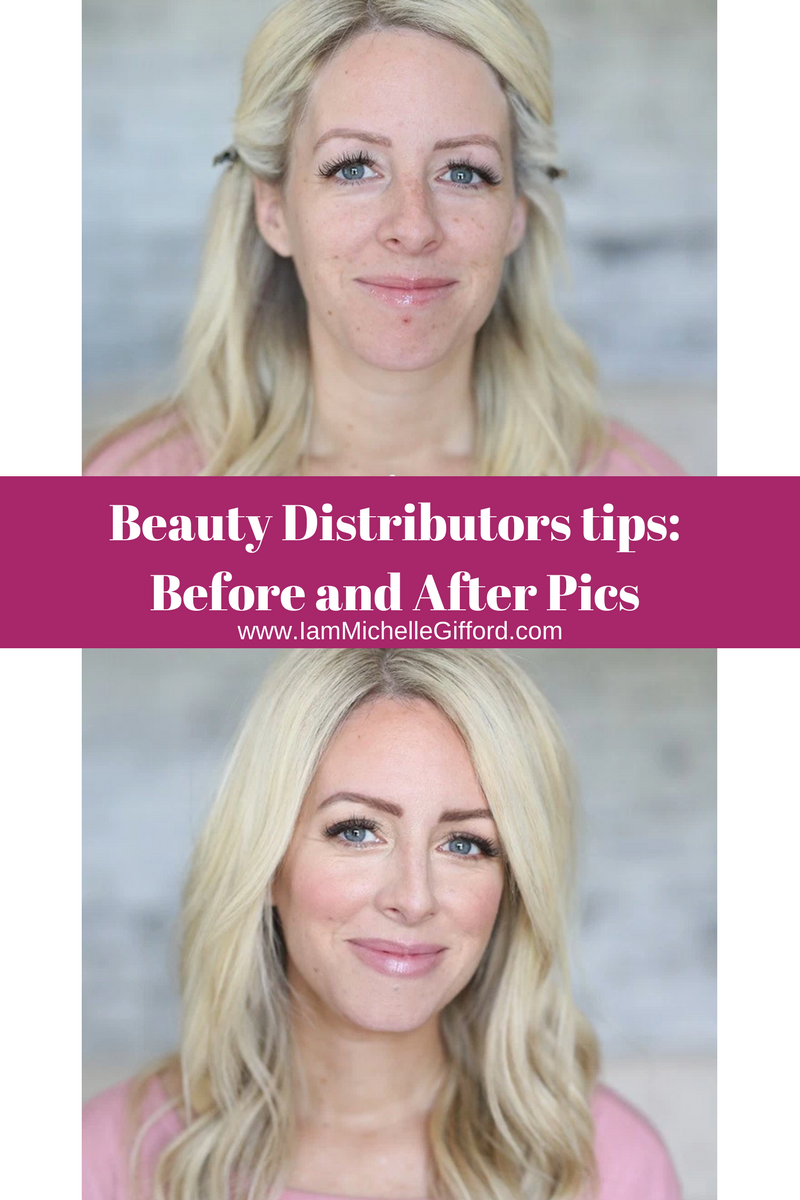
(Photo credit Maskcara.com)
If you are creating side-by-side pictures for Instagram, create them side-by-side horizontally. This fits the dimensions better for Instagram and Facebook.
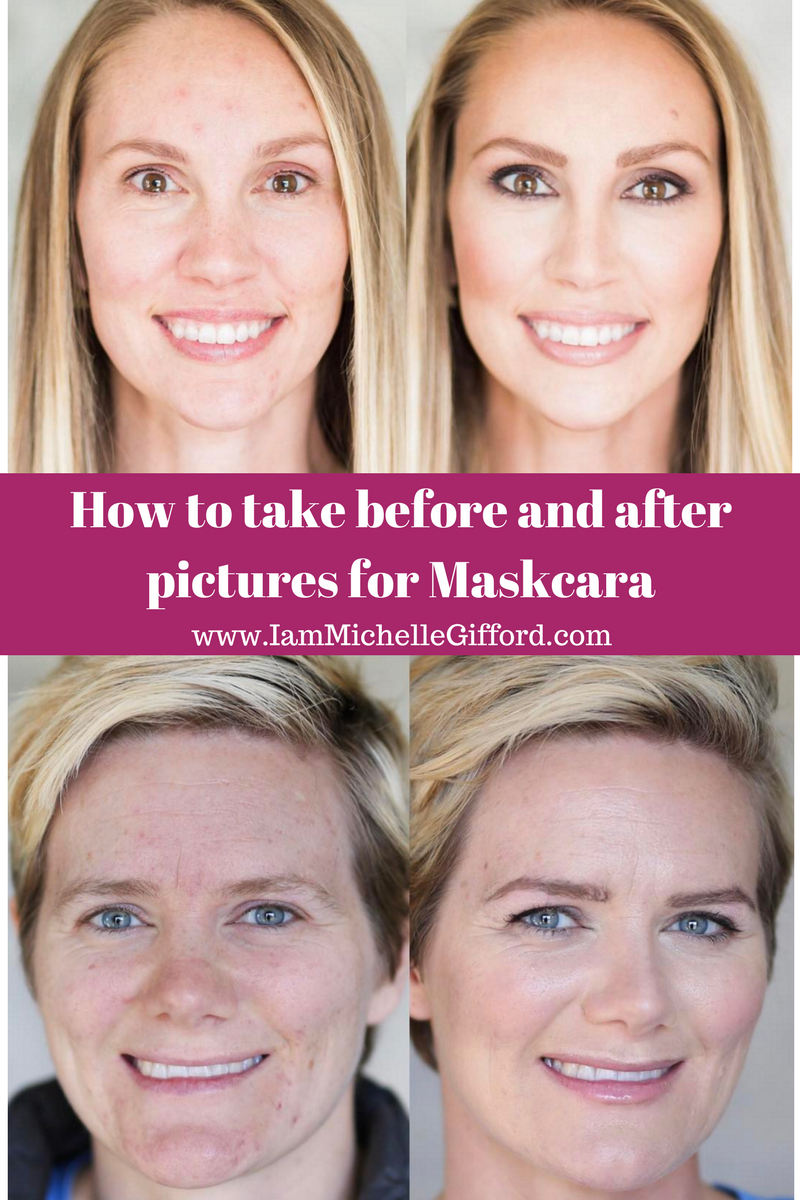
(Photo credit Maskcara Instagram)
You can do this in photoshop, but that can seem daunting. You can use free apps like Canva.com if you are on your computer or a Layers collage app on your phone.
Use Your Camera’s Best Functions
Whether you have an iPhone or a nice DSLR camera, learn the functions of your camera to get the best possible picture. Make sure that you are taking a flattering picture by shooting above them or at eye level (so you avoid the dreaded double chin). Hold your elbows in to steady yourself to avoid camera shake. And, if you are using your phone, tap on the screen to choose your focal point. If you want more phone photography tips, you can get my FREE Phone Photography Video training here.
Or if you want to finally learn how to use that DSLR camera with snackable videos, free from photography jargon, I’ve got the course for you. Check it out here.

Yep, you just tackled the exact problem for hesitancy! And now I may be regretting not jumping at the offer. Silly me, to think you wouldn’t make me look good and then great (with make up) for pictures ????
See. Trust me, friend. You might get another chance. I’ve got another kit coming in the mail. I am a little crazy.
I think I better take that course!
Um, Yep!;). You will love it!