
")

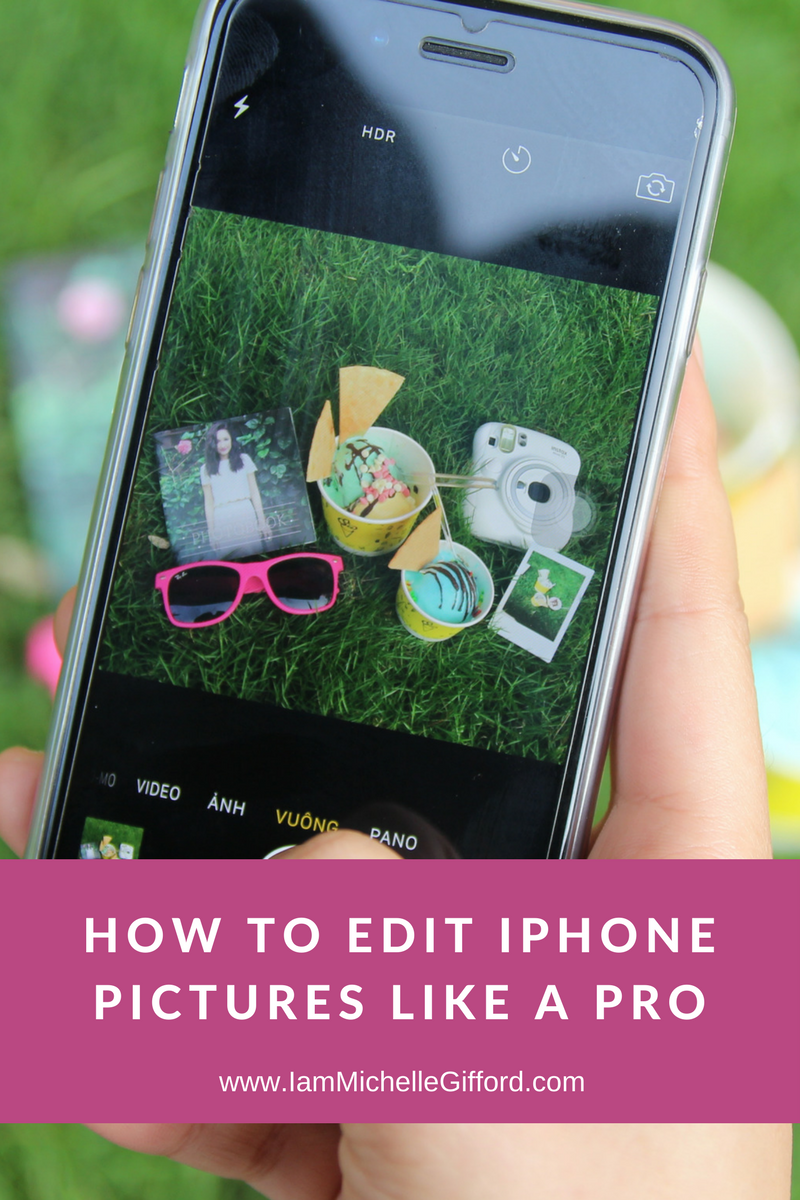
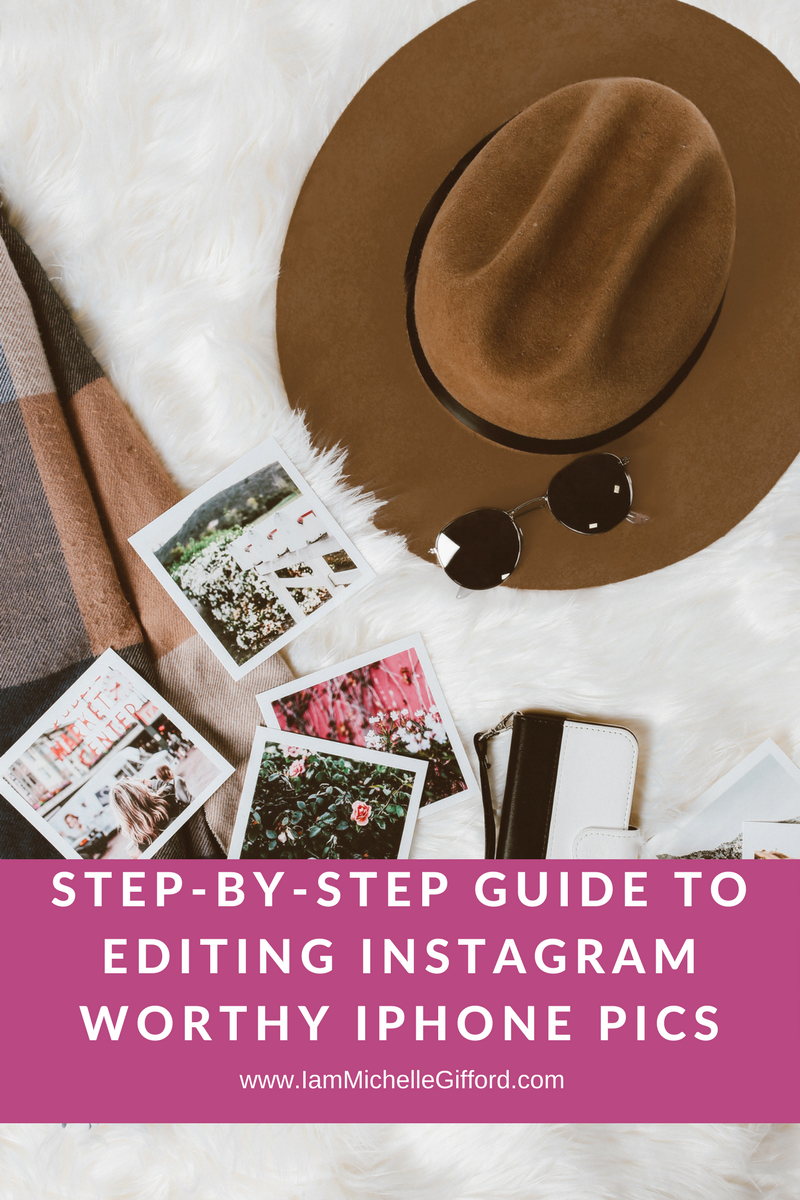
I’m always on the look out for good, Instagram-worthy pictures that match my brand. They aren’t easy to come by, especially when you want a clean, bright white back ground for your pictures. Well, this tutorial is going to teach you how to edit iphone pictures with Snapseed. This step-by-step guide will take you from editing start to finish and will show you how to use the selective edit tool to make those whites whiter.
First, download the app. It is free and wonderful, so go do it!
Step 1:
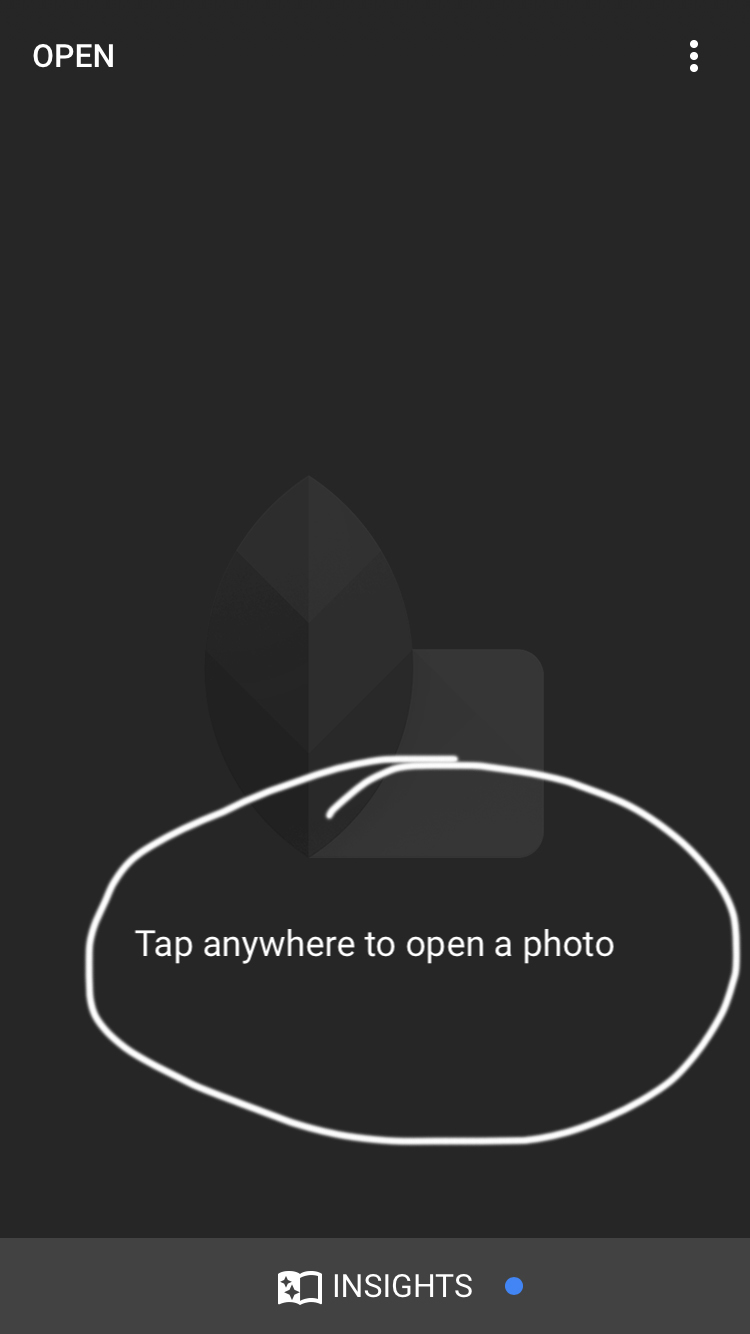
Open app and choose a picture.
Step 2:
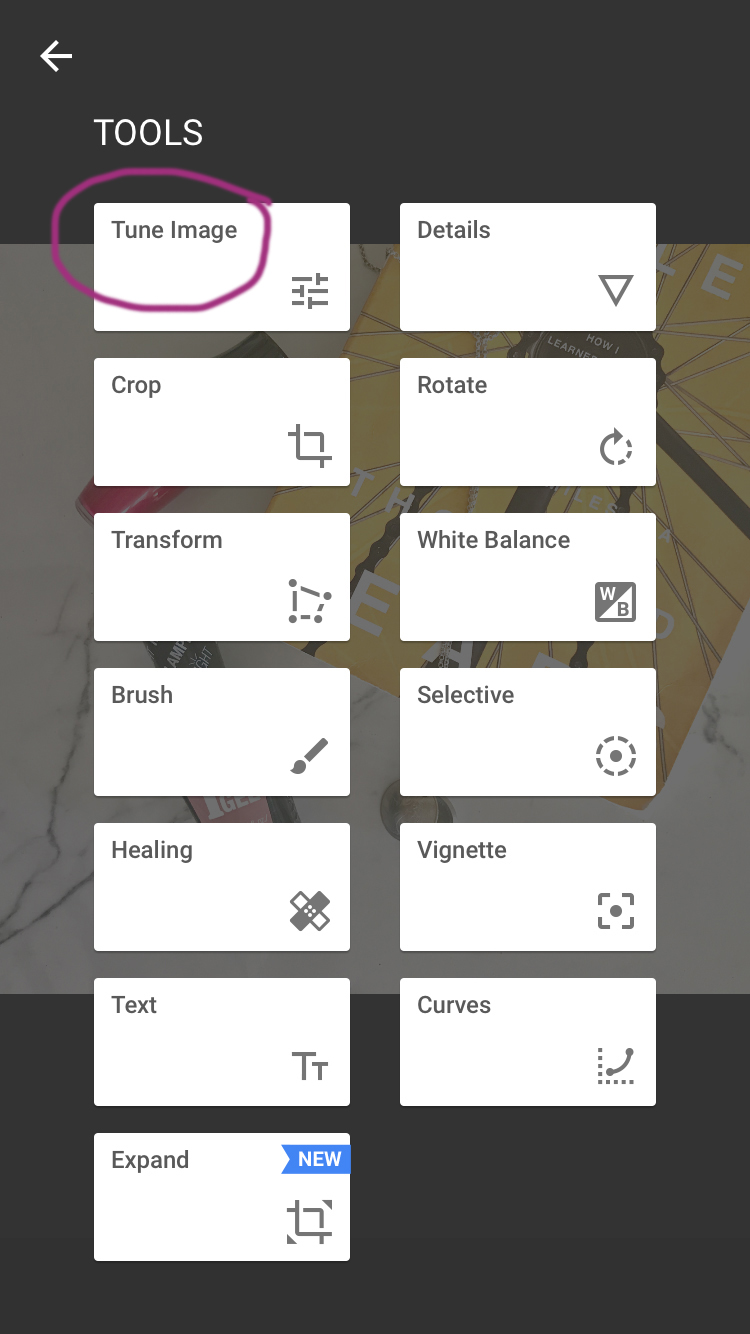
Click on the pencil in the right corner and a new screen will pop up. This is the editing option screen. Click on “Tune Image”.
Step 3.
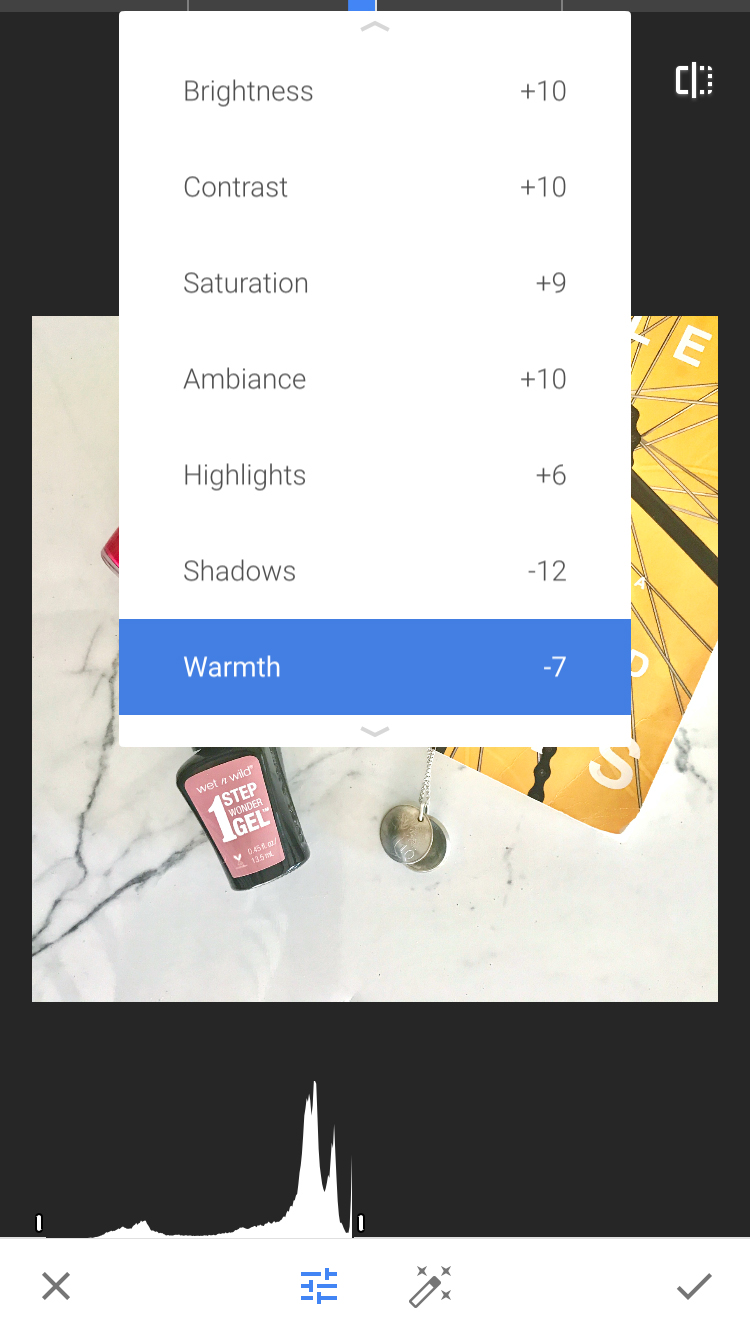
Now it is time to edit. Click on the little slider bar at the bottom of the screen and choose what you want to edit. Once you choose which feature you will be editing, you will hold your finger on the screen and drag to the right or left depending on how you want to edit it. So, if I wanted to increase my brightness, I would hold down and drag my finger to the right. You can check to see how much you are increasing the brightness by watching the slide bar at the top of the screen.
Step 4.
Using the different options, edit your picture to your liking. I usually bump up my brightness, contrast, saturation, ambiance, highlights. And then I will bring down my shadows and play with the warmth to get it to match my other Instagram pictures.

Here are the edits I did on this picture:
Step 5.
Next, I want to make the background a little whiter without changing the color of the book. Click on the check mark in the bottom right corner and that will take you back to the editing option screen. Once there, click on “Selective”.
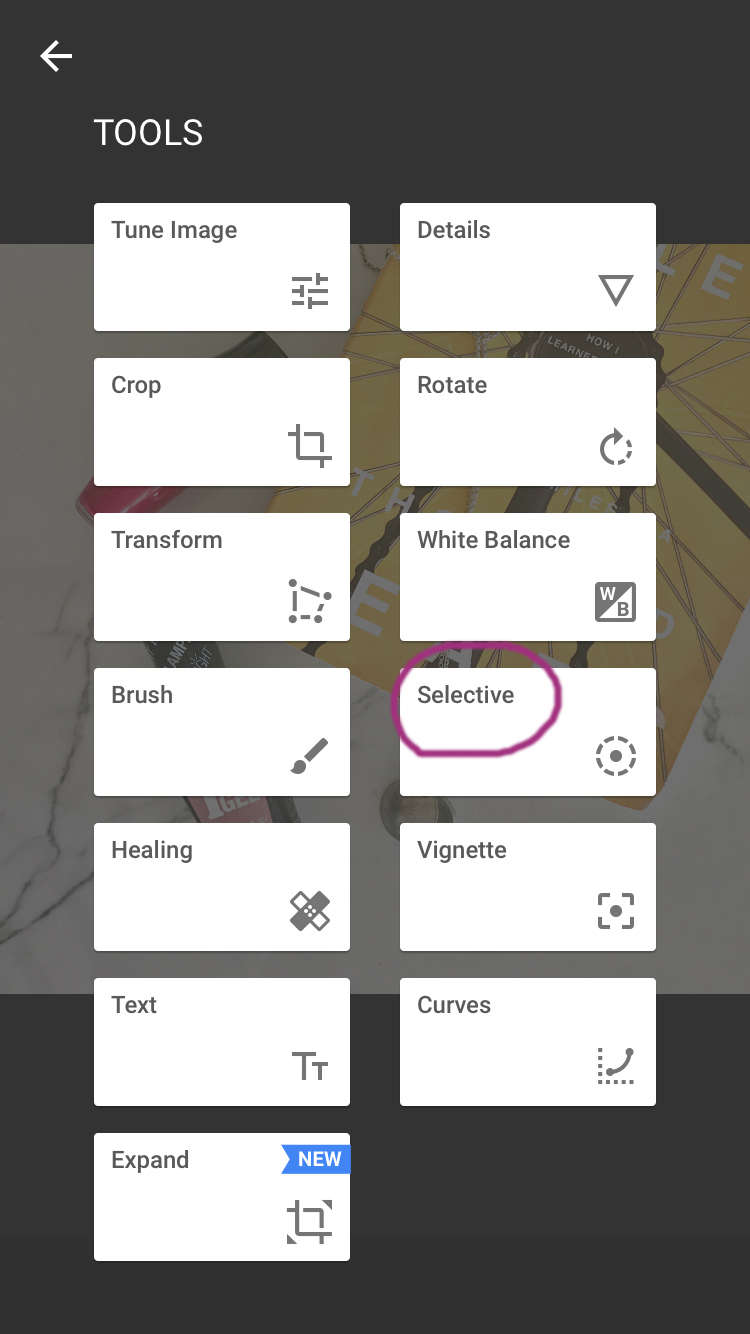
Step 6.
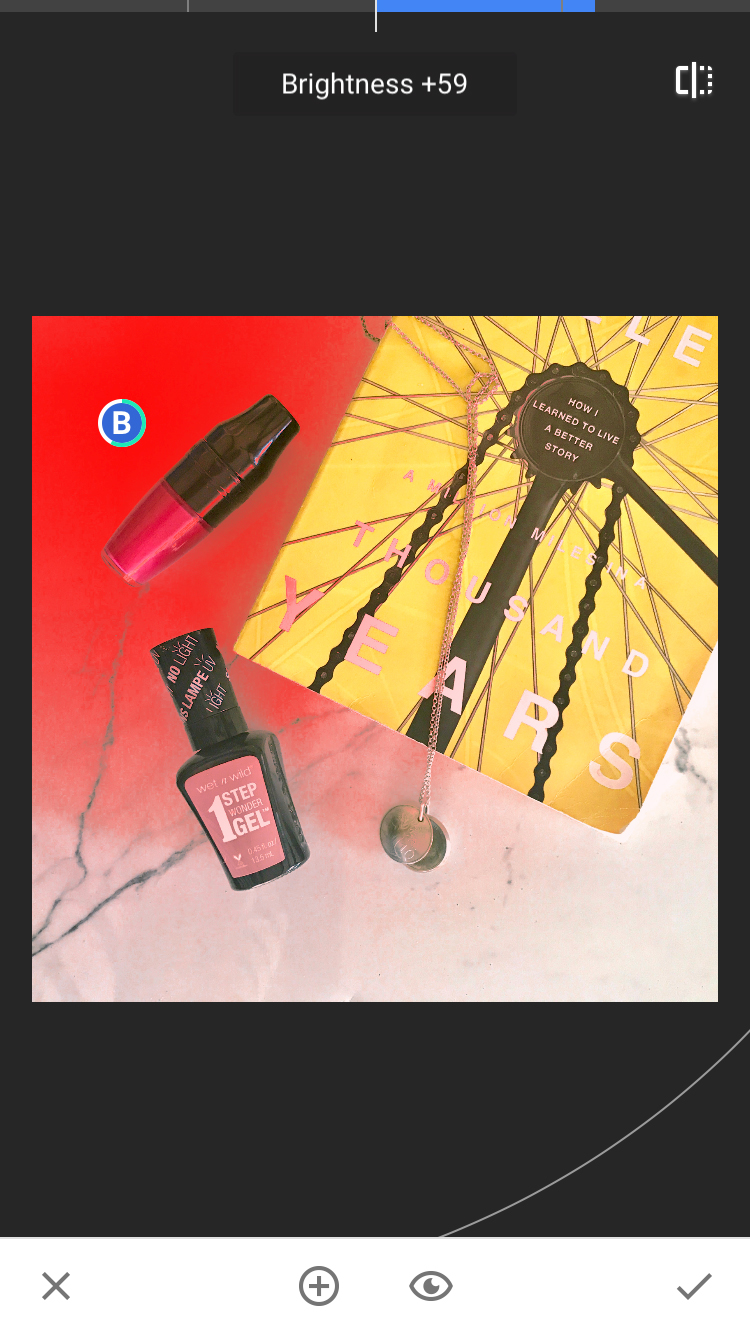
You can use this selective edit to do any type of edit that you want. For this example, I will be brightening up the background. Tap on the area that you want to brighten and it will drop a little circle with a “B” in it. This indicates that that area is selected to be edited. You can increase the area around that circle by putting your thumb and pointer fingers on the “B” and then opening your fingers to spread out. When you pinch open with your fingers, the selected portion of your photo will turn red so that you can see the portions that will be affected by your edit. Pinch closed to narrow the selection. Then edit according to your taste. You can do more than one selective edit. When you are finished with one, click on the check mark in the bottom right corner and it will take you back to the editing option screen.
Step 7.
When you are finished editing, click “Save” and choose “Export” and it will save it to your camera roll.
Other great features of Snapseed:
-Healing tool
-Crop tool
-Rotate tool
-Curves tool
-Text Tool


")


[…] Edit. There are a lot of great free apps to edit your pictures. My favorite app is Snap Seed. I even did a quick tutorial over here on how you can use it. Click here. […]