
")


As Influencers and Content Creators, we are perpetually on the lookout for time-savers that still enable us to produce the quality work our clients and followers have come to expect. I know it’s hard to stay on top of your content schedule, but I have the perfect tool to help you plan ahead and still create quality content. It’s Planoly.
What is Planoly?

If you haven’t heard of Planoly yet, it’s a social media planner and management tool that enables you to prepare and schedule multiple posts ahead of time. You can access it on your desktop by visiting its website or on your phone by downloading its app. Let’s walk through an overview of how to use Planoly, so you can start using it for your biz right away.
Planoly Overview
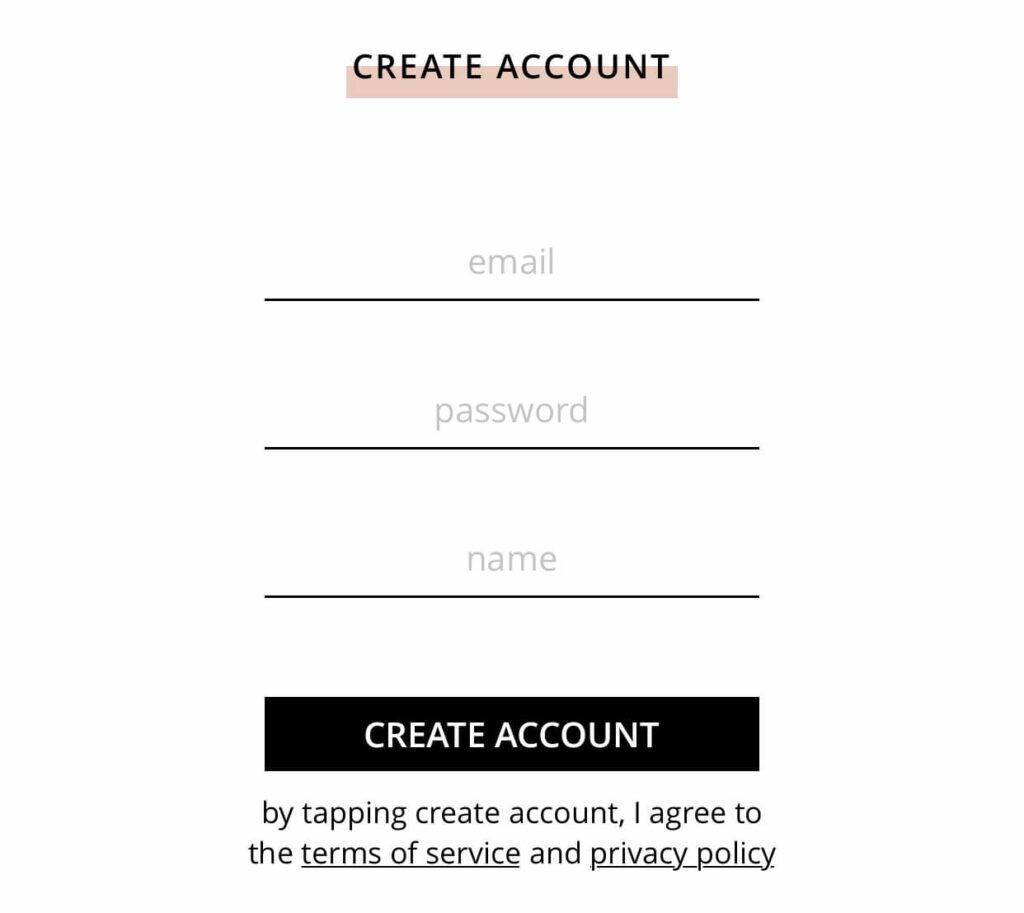
How to Create Your Planoly Account

First, you’ll need to sign up for a Planoly account. As you do so, it will ask you to link it to your Instagram account. This allows it to sync up and share your posts properly. Go ahead and click on “Link Account,” and select whether you have a business or personal Instagram account.
Note: For business accounts, you need to authenticate with your Facebook account to allow Planoly to post automatically on your behalf. Click “Authenticate with Facebook” and then on the next screen, click “OK”.
Planoly lets you manage multiple accounts. Just select the account you want to connect by clicking the + symbol next to the correct account. Next, specify how your account is used. Are you an Influencer, Artist/Photographer, etc.? Select the appropriate option for you, and then tap continue.
Planoly Dashboard

The dashboard is the page you’ll come to after logging in. In the dashboard, Planoly pulls up your 18 most recent posts, and a calendar displaying when you have posted in the past, and what upcoming posts you have scheduled. Both the preview grid and the calendar show metrics for each post, such as how many likes and comments you got.
If you know me, you know I’m getting super excited talking about data analysis! This feature Planoly has where it measures your engagement makes it super easy to track since it’s all in one place. These stats should tell you which posts are performing well and what type of content your audience is most interested in.
How to Add Content to the Planoly Grid

Planoly lets you upload new content from your device, Dropbox, Google Drive, Placeholder, or Instagram shareable links. Tap on the + symbol to add a new post and select the location to find your image. Once you’ve found it, select “Open” and the image will appear in the grid with a U icon (U = unscheduled).
You can add up to nine images at once! Just drag and drop your images now and arrange them in the order you would like. I love this because it lets me see how my posts flow together and easily rearrange them if needed.
How to Plan Captions and Schedule Posts

Once your images are arranged how you like, then it’s time to plan your captions and schedule your post! Click on your photo. Where you see the text “sent via @planoly #planoly” that’s where you will type up your caption.
Next, click on the calendar icon to set up the schedule for the date and time that you want it to post. You can also choose to auto-post to Instagram and Facebook (if you have a business account). Be sure to click the “Save” once you’ve set it all up!
Once you’ve finished scheduling, your image in the grid will have an S icon (S = scheduled) instead of the U (U = unscheduled) icon from before. The picture will move to the bottom of your Planoly grid and your post will also populate on the calendar view.

If you opt to auto-post, it will automatically post for you at the scheduled time. If you want control of posting, then I recommend downloading the Planoly app on your mobile device. Planoly will notify you when it’s time, and you can post from wherever you are! Hooray for convenience!
How Much Planoly Costs

Planoly has three different plans, each with a different price point, to choose from. Notice the plan accommodates where you are on your Influencer journey. Whether you’re just starting out or are well established, there’s a plan that fits your needs.
Each plan comes with a social calendar with holiday and weekly trends, image and video editing, AI caption writer, and more. You can see the rest of the features HERE.
Main Takeaways
- Planoly is a social media planner and management tool that enables you to prepare and schedule multiple posts ahead of time.
- You can add several pictures to the Planoly grid at a time and tap through each one to add a caption. At the end, you should be able to schedule the date and time you want the post to be published.
- Make sure to allow notifications on your phone from Planoly, so it can remind you of when to post.
- You can start with a 14-day free trial using Planoly to see how you like it. Afterward, you pay $16, $28, or $43 monthly depending on which plan you choose. You can sign up for Planoly HERE.
.

How to Use Planoly
That’s all there is to it! Now you’re set on how to use Planoly. How simple is that? I’ve been using Planoly for years and it has made my content scheduling such a smooth process. I know that will be the case for you too! Happy planning and posting!
For more great Instagram tips and strategies, follow me on Instagram @iammichellegifford. For more help right now, check out these posts next:


")


Do you know why planoly links to google drive and not google photos? That’s where all my photos are. I can’t seem to figure it out!