How to Use Planoly to Schedule Instagram

Ever wonder how others manage to keep their Instagram posts updated and fresh all week? Let’s face it. It takes a lot of work to plan, prep, and produce your Instagram posts, and many of you are posting several times a week. What if I told you there was a way to streamline that work and take back some of your time to focus on what matters most? Have you heard about Planoly? This is a must-have tool for managing your social media content, and now it has an automatic scheduling feature! That’s right! Let me show you how you can schedule Instagram with Planoly by prepping several posts ahead of time and then telling Planoly when to post each one.
Let me show you just how easy is it to schedule your Instagram content with Planoly!

What you need to know up front
The auto-post scheduling feature requires two things:
- A Planoly Business Account
(If you’re just getting started, go ahead and set up your Business Account. We’ll wait for you!) - A linked Facebook account for authorization
All set? Great!
How to schedule auto-posts from your computer
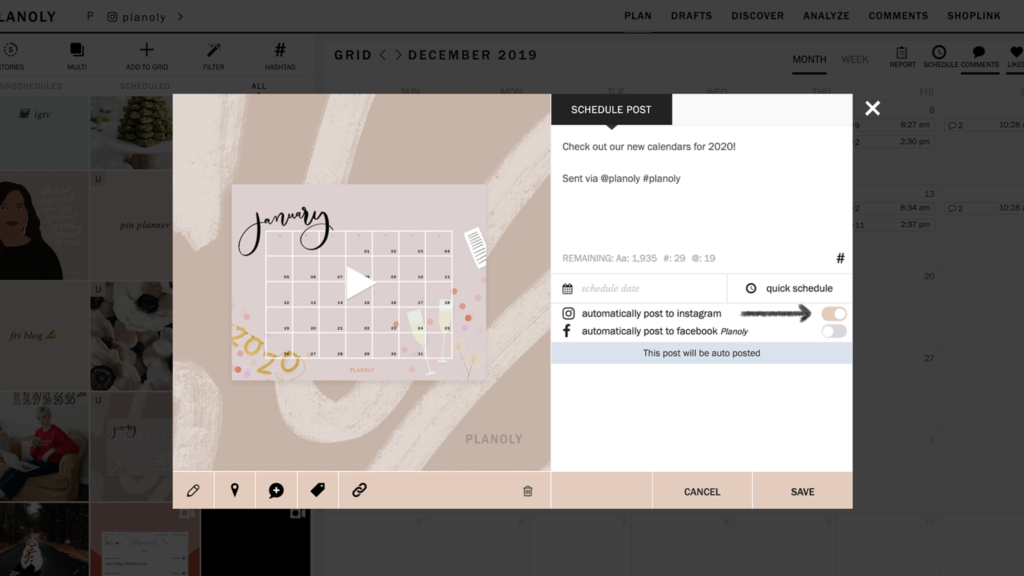
First, open up to your Planoly dashboard view and click on the Menu icon (three bars in the upper right corner). Then, click on My Profile and scroll down until you come to Managed Social Profiles—you should see your Instagram accounts here. Next, switch the toggle under Instagram Auto-Post to Yes. And that’s it! You’re all set up to start scheduling!
From here, click on + to select media for your post. Then click the toggle to Automatically Post to Instagram and set up your custom schedule. So easy!
How to schedule auto-posts from your phone
Alright—as if that wasn’t simple enough, let’s talk about convenience, shall we? Planoly makes it so you can even schedule your Instagram content right from your mobile device! Just download the Planoly app if you haven’t already. Then, open it up and tap on Options (three dots in the lower right corner). Next, tap on Enable Auto-Post.
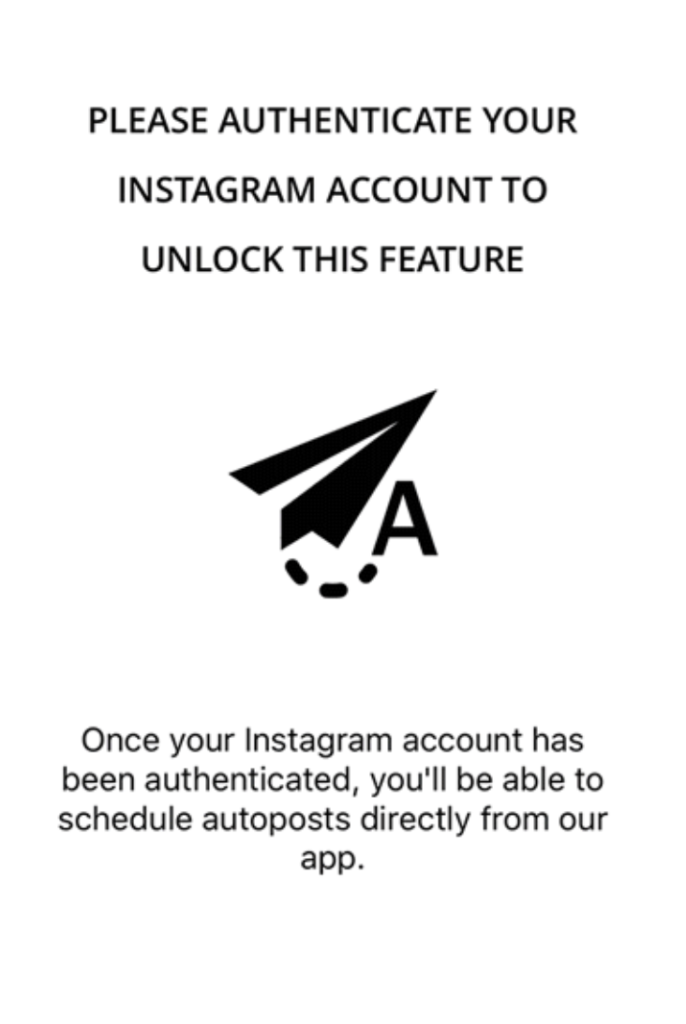
Then, a Facebook pop-up will open and you will need to give Planoly authorization to post to your Instagram account for you. Once you’ve done that, you’re all set!
From here, it’s just the same as the web version. Tap on +, find your media, and then tap the toggle to Automatically Post to Instagram and customize your scheduling.
Happy posting!
What’s next?
Save even more time by learning How to Batch your Instagram Content!




You said...