
")


“I don’t have time to create Reels. They take too long. I can never find the music. I don’t even know how to do it.” Have you ever found yourself making these excuses? Because I have been there! So today I’m going to be walking you through how to batch Instagram Reels. This step-by-step process will save you time and energy. PLUS I’ll share with you my super-secret way to take the watermark off of your Reel so that you can repost it to TikTok. It’s going to be so good!

Why You Should Batch Your Instagram Reels
Instagram is a great way to build your business, brand, and authority. And Reels are super amazing for your business because they have their own algorithm on Instagram. When Instagram created Reels, they did it in direct competition with TikTok. They not only took the short-form video content but they also tried to match the algorithm.
Instagram has told us that it has three algorithms. One of them is your feed. In the feed algorithm, only people who are following you will see your posts and stories. Luckily, that’s not true for the Reels algorithm! The Reels algorithm puts your content in front of people who do not follow you. To do this, Instagram has to figure out what kind of content you create and then find the people who would like to see it. And that means potential followers! This is why using Reels is one of the best ways to grow on Instagram.
Step #1 Find Trending Instagram Reels
The truth is, it can take a long time to create Reels. But it doesn’t have to! So let’s get started on the first step which is how to find and use trending Reels. First, it’s important that any time you’re on Instagram and you see a Reel or audio that you like, save it. This creates a bank of Reels and audio that you can easily reference back to. Now let’s walk through three ways that you can find trending Reels. If you’re a visual learner or need help finding any of the features we’ll go over in this blog post, check out my video below.
#1 The Explore Feed
The first way to find trending Reels is to go to your explore feed. At the bottom, you’ll see the Reels tab. Click it and you’ll notice that on the Reel that pops up there is a little arrow next to the audio. This means the audio is trending! This is a good way to find trending Reels because Instagram is the one suggesting them to you.
#2 Trending Audio
The second way to find trending Reels is to use the audio in the Reels camera editor. Open your camera where you would upload your Instagram Reels. On the left side of the screen, you will see a little music note. Click it and a bunch of suggested music will come up. At the bottom of your screen click the “see more” option. This will allow you to see more audio and how many Reels have been made with each of them. That’s a big deal. Some Reels may only have a couple hundred people using the audio and others may have thousands. This can be used as a tool to help you pick popular audio.
#3 Follow my Instagram
The third way that you can find trending Reels is to follow me on Instagram @iammichellegifford. Every Wednesday I share five or so trending Reels for the week. And I save them in a highlight bubble for you to look at whenever you need them! Finding trending Reels is a great place to start when you are learning how to batch Instagram Reels.

Preparing to Record Instagram Reels
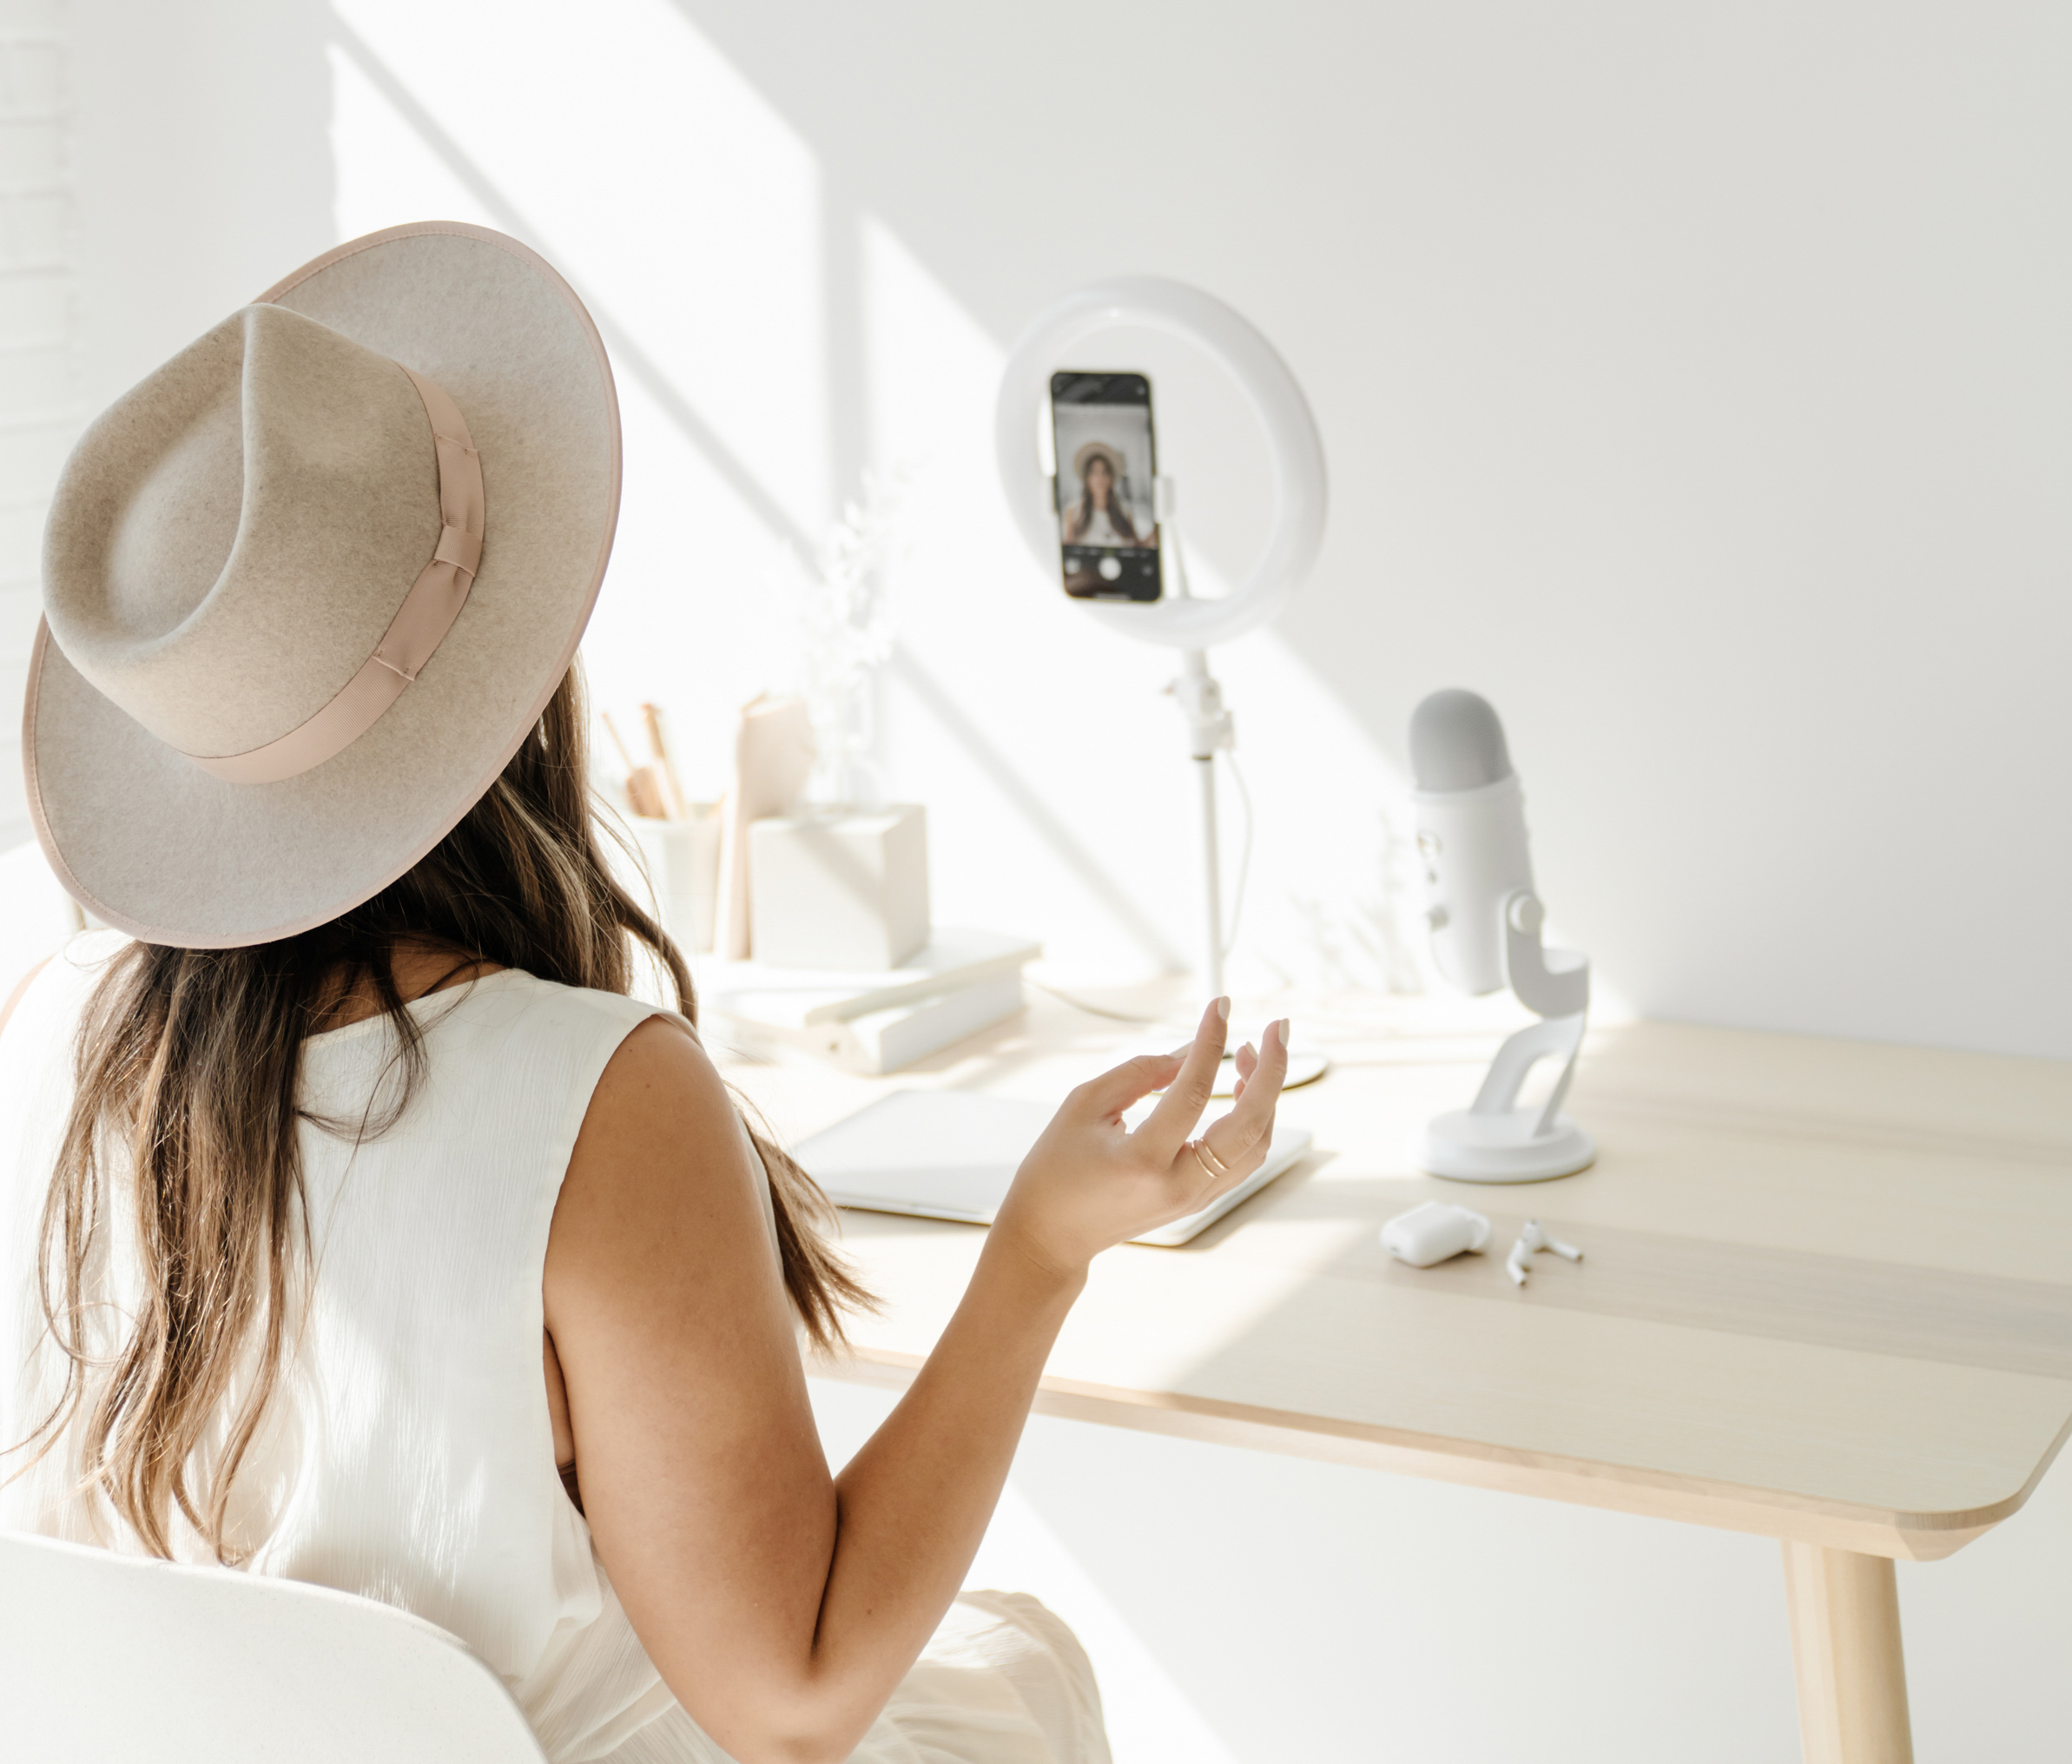
Once I’ve saved some trending Reels with audio the next step is to get ready to record. For me, this means that I have my makeup on, my hair’s done, and I’m in a room with good lighting. Then I’m going to open my saved Reels on Instagram and decide which one I am going to recreate. I’ll first pay attention to the audio and figure out if I going to need to lip-sync it, memorize something, or even write a script. I also consider if I am going to need to be in different outfits or use any props.
While I do this I also try and see how I can make the Reel my own. I think about what the audio is trying to do and I ask myself what is the message I am trying to convey? Then I answer it using my core messages. A couple of my core messages are women in business, working moms, and Instagram Reels. And I’ll use one of those specific topics to create my Reel.
Step # 2 Recording Instagram Reels
When you’re creating a Reel try not to overthink it. It does not have to be hard and the more you do it, the easier it will get. Here are a couple of my pro tips to help keep it simple. Number one is, if you use a filter, try to use the same one consistently. This will help your feed feel cohesive. It also helps your audience recognize your videos because they will all have the same look. We love brand recognition!
Tip number two is use the Instagram Reels timer. This timer is found on the left-hand side of your screen when you are creating a Reel on Instagram. Using the timer will help you be ready and in place, especially when you are lip-syncing words. Set the timer to have a 3-second countdown before it records. And start talking when it gets to one, not zero. Because Instagram is not perfectly in sync and it starts recording before it counts to zero. Using the timer like that should help you get in sync with whatever audio you are trying to match up with. Another way to do this is to slow down your recording speed. You can check out how to do that in my Reels video below.
Step #3 Editing and Adding Text to Instagram Reels
Now that you know how to create your Reels you’ll want to video as many as possible. You don’t need to take time to add words or text yet, just focus on filming a few. Because here’s the thing, if you’re a mom like me, there are not that many times during the day when I’m alone when it’s quiet. But there are plenty of times in the day when I can edit a Reel or write a caption. I can do that here and there when I’m waiting in the car to pick up the kids or in between other tasks. That can be done later when the lighting, the sound, and how I look, it doesn’t matter.
And this brings me to step number three of how to batch Instagram Reels, editing and adding text. If you’re new to Reels, the easiest way to get familiar with them is by practicing. Pick a video and try adding every kind of effect you can on it. You don’t need to post it this way, but the goal is to know how all of the features work. If you need more help with this part you can check out my editing Instagram Reels tutorial here.
Step #4 Instagram Reels Captions and Hashtags
The fourth step is to add your caption and hashtags. I try to think of my caption while I’m editing my Reel, noting what core message I’m using and what I want my call to action to be. If I know exactly what I want to say I can save it in my notes app. Otherwise, I’ll write it out just before I post it. When adding hashtags it’s important to know that Instagram has told us that they want hashtags in the caption, not in a comment below. So make sure that your hashtags are in the right spot. 
Step #5 Creating Instagram Reel Cover Photos
The fifth step in learning how to batch Instagram Reels depends on what your feed looks like and if you want cover photos. If you do you’ll want to create a bank of graphics you can edit and pull from. I have recently decided to use pre-made cover images and it has made my feed feel a lot more consistent and professional. Before, it looked a little bit messy.
To add a pre-made cover photo you’ll click on your Reel that is all formatted and ready to post. Click on the “edit cover” button and then choose the “add from camera roll” option at the bottom. Then choose which photo or graphic you would like to use as the cover. Bonus tip! From here, you can click the “profile grid” option and reposition the photo to how you want it to look on your feed.
Step #6 Posting Instagram Reels
Now that you know how to batch Instagram Reels you are ready to post and publish! I do recommend paying attention to the times that you’re publishing Reels. I have noticed that when I publish them at night, they get a lot more attention because that’s when my audience is winding down and looking at their phones. So start paying attention to the times that you’re posting your Reels if that affects the kind of engagement and views it’s getting.
After I post a Reel, I always post it directly to my stories, too. The reason why I do that is because if someone watches my Reel in my stories, it counts towards the overall number of views. Reposting the Reel to your story will help you get the maximum number of people viewing that you can.
BONUS! How to Remove the Instagram Watermark
Bonus tip! We always want to make our content stretch further, right? I’m all about making one piece of content work as much for us as we can. An easy way to do this is to repost your Reels to TikTok. But, you’ll want to remove the Instagram watermark first. To do this, you’ll go to the three dots in the top right corner of your posted Reel. Click them and hit “copy link”. Then you are going to go to the snapinsta.app website. There you can paste the Reel URL and hit download. And just like that, the watermark will be removed. This works for downloading TikToks without a watermark as well.
How to Batch Instagram Reels
Creating Reels really can be fun and easy and I know you can totally do it! Lack of time should not be the reason that you don’t create Reels. With this method of batching it can be easy. I also want you to know that the first time you create a Reel it might be hard and take a little while. But the more you create the better you’ll get. So go and create a Reel, try it! You’re going to see some pretty amazing results as you get more engagement and more followers from doing it. And tag me on Instagram @iammichellegifford so I can see what you create. You’ve got this!


")


You said...